
By now you should have looked at your listings in detail with an eye toward improving descriptions, tags, your search engine relevance, sections and titles. Whew! Sounds like a lot! If you’ve made some changes, how are your stats? Are you noticing any increase in views?
All of these changes are important, and if you get the potential customer to your shop via the search process, what’s next? The picture of your product! You need to catch the eye of the buyer, make them interested enough to click on it and actually read the nice description you gave. So let’s get started….
First, and the easiest thing to do, is to change up your photos. No, you don’t have to go take all new pictures! When a customer visits your shop, do they see the same products and pictures day after day? Maybe your pictures are all starting to look alike. Boring! Even if you haven’t added new products, a new view of the old ones will freshen up your shop. Take a look at your pictures of one product. You should have used up all 5 slots for different views. Pick one that shows your product differently than the one you are currently using and make the change. See? It looks like you just listed something new. Speaking of different views….a few things to keep in mind: have you shown the product from the front, side, and back? Can you show a picture of how it can be used or worn or displayed? If you offer different colors, do you have a picture showing the choices? Be sure to use all five photo slots! If you have difficulty finding five photos, add one of your packaging.
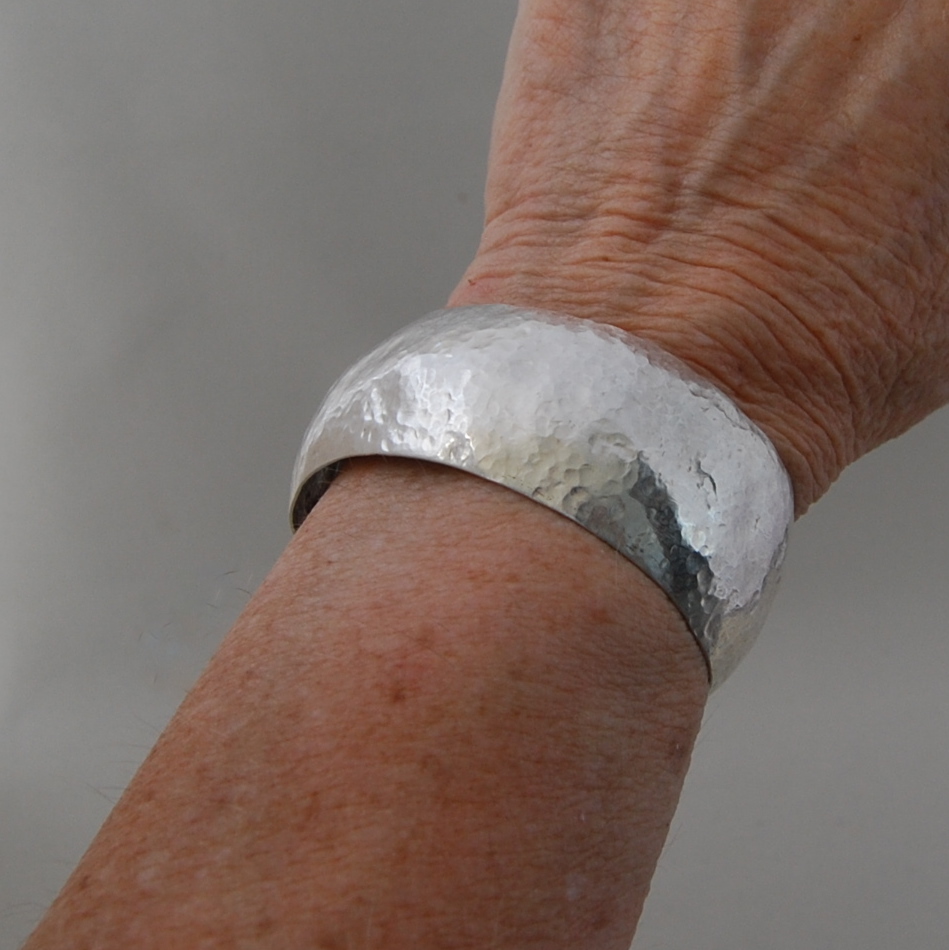
Remember, your customers can’t pick up your product and turn it over, try it on, or feel the texture. If you’re taking new pics (we’ll talk about that later..) or even if you use an old one, crop it close so they can see the texture or design. Don’t worry about showing the whole product…what you’re looking for is the texture. Here’s an example:


Next, let’s talk about visibility. Are your pictures light and bright or dark and difficult to see? Short of taking new pics (like I said, that’s for later) there is a quick and easy solution. …..use your photo editing program! Since I don’t know which one you use, I can’t address specifics. However, every program has a light and contrast feature. Pick a picture and, using your editing program, see if you can make it lighter. The lighter the better, short of making the product disappear! Try the contrast feature to darken up some of the detail against the lighter background. Does it make the product pop a little? It should. And my favorite is the sharpen feature. When you’ve adjusted the photo and made it lighter with contrast, hit the sharpen button and see what happens. In most cases, the photo will appear crisper. One caveat: make sure the colors are as accurate as you can.

Before

After
Another trick to refreshing your old photos is to recrop them. Maybe the product looks small. Or maybe it’s off center or in a clutter. Crop away some of the clutter, or use this action to center it. You’ll see a big difference in your old photos by using some of these simple techniques. Here’s another example:

So ok – let’s review!
Step 1: Look at your photos! Do they show your item accurately and in detail?
Step 2: Change them up! Move a new view into the first position. It will look like you added something new.
Step 3: Be sure you’ve used all five slots. Add your packaging in one if you’re having difficulty finding five photos. Make sure you show all sides, front and back. Or how it can be used/worn/displayed.
Step 4: Crop to show texture.
Step 5: Lighten up where you can! Don’t forget the sharpen feature!
Step 6: Recrop an old photo. Sometimes all it takes is a little tweaking to make the product more visible and interesting to the buyer.
Step back and look at your shop as a whole. Do the photos give the customer a reason to keep on looking? By now you will have played with them enough to know if taking new shots is what you need to do. Next week we’ll talk about that in detail, but for now, try the exercises I’ve listed and see what you think. Your shop should look different than it did when you started and that’s probably a good thing. I play with my photos all the time! I still need to do some of these steps and I’ll be doing them right along with you this week.
So have fun and be creative!
Toodles,


![[Most Recent Quotes from www.kitco.com]](http://www.kitconet.com/charts/metals/silver/tny_ag_en_usoz_2.gif)


No comments:
Post a Comment