See My Work with Patty Lakinsmith for the ISGB/Bead and Button Convergence Exhibit


Thursday, April 26, 2012

FEST Boot Camp - Week 6! Using Social Media

So here we are at our final week of the FEST boot camp! By now you’ve probably made some changes to your Etsy shop. We talked about tags, search relevance on and off Etsy, key words, titles and photos. Probably lots more, but I don’t need to list them if you’ve been following along each week.


The last thing we need to discuss is how to drive traffic to your shop from outside Etsy. Of course paying for advertising is one way, and if you have that in your budget, lucky you! But there are lots of ways to market for free and probably the easiest (and cheapest) way is through social media. Available to you are Twitter, Facebook, Flikr, blogs and your own web site. There are others, of which I’m sure you are aware, but in order to not spend all my time on the computer, I’ve limited myself to these few. So I’ll talk about them. If you don’t have accounts with these social sites, I highly recommend it.

First and foremost, make sure that every site you use has a link back to your Etsy shop! My twitter and blog link back to my Facebook fan page as well as my shop.

I use Twitter for listing treasuries I’ve made, treasuries I’ve been featured in, and some of my new listings. The icon for direct listing to Twitter is found on each page - treasuries and new listings. I even post great designs from other artists if I think they’re unique and others will like them. Because of the time element, I really don’t get too involved in conversations with other tweeters, but that’s just me. If you have the time, it’s a good thing to do instead of just marketing. Personally, I fall short in this endeavor, but I know I should be more sociable. This is probably a case of “do as I say, not as I do” lol!

Facebook is a great place to market. You’re probably already using it so my advice is two fold. One- don’t pepper the home page with new listings. Your friends and contacts will tire of that quickly, so do it sparingly. Do comment on other posts, and wherever possible, include pictures with your status updates. Two – create a fan page. Here is the place to show off your new work, your treasuries, any creative postings….it’s all about your business. Ask your friends to “like” your fan page and become fans. This will increase the traffic and they will know that you will be sending them your new or featured listings. On both your facebook home page and your fan page, be sure you are interactive. If someone comments on one of your postings, make sure you thank them or comment back in a timely fashion.

According to my Etsy stats, I get a lot of outside traffic from Flickr. I not only have my own account, but I have joined several groups appropriate for my craft that allow me to post my pictures on their site too. I get lots of comments and, according to Etsy, the link to my shop is working just fine! It’s a major traffic source. It is against Flickr rules to openly sell or market, so be careful. Your personal info can be the place you provide the link to your web site, blog and Etsy shop.

Speaking of blogs, do you have one? It’s a great way to get noticed, particularly if you can include an occasional tutorial or a “how to” related to your craft. You can join network blogs, which will automatically post your blog link on your fan page (if you set it up that way) with pictures and title. Folks have to click on it to read the blog. Blogs are free, mostly, so it’s another good way to advertise. You can include your Etsy mini which will show your work “live”.

I know most of you probably have some or all of these. If you do, and they are driving traffic to your shop, yay for you! If your Etsy stats don’t show much activity from these sites, maybe it’s time to “fine tune” them.

So, that’s it. Remember to link your item listings from your blog, Twitter, Facebook Fan Page and your website. Always include a bit of interesting context so folks will want to see more. Now is a great time to put together a Mothers Day Gift suggestion post. Everyone is looking for something for mom, so why not look at your shop?

I hope this team has enjoyed the last few weeks and that you’ve found these postings helpful. Have you made many changes? If so, do you see an improvement? I wish you all the best with your marketing plans and your future Etsy sales. Thanks for joining the team and following along with me!

Toodles,
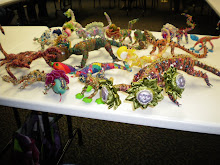
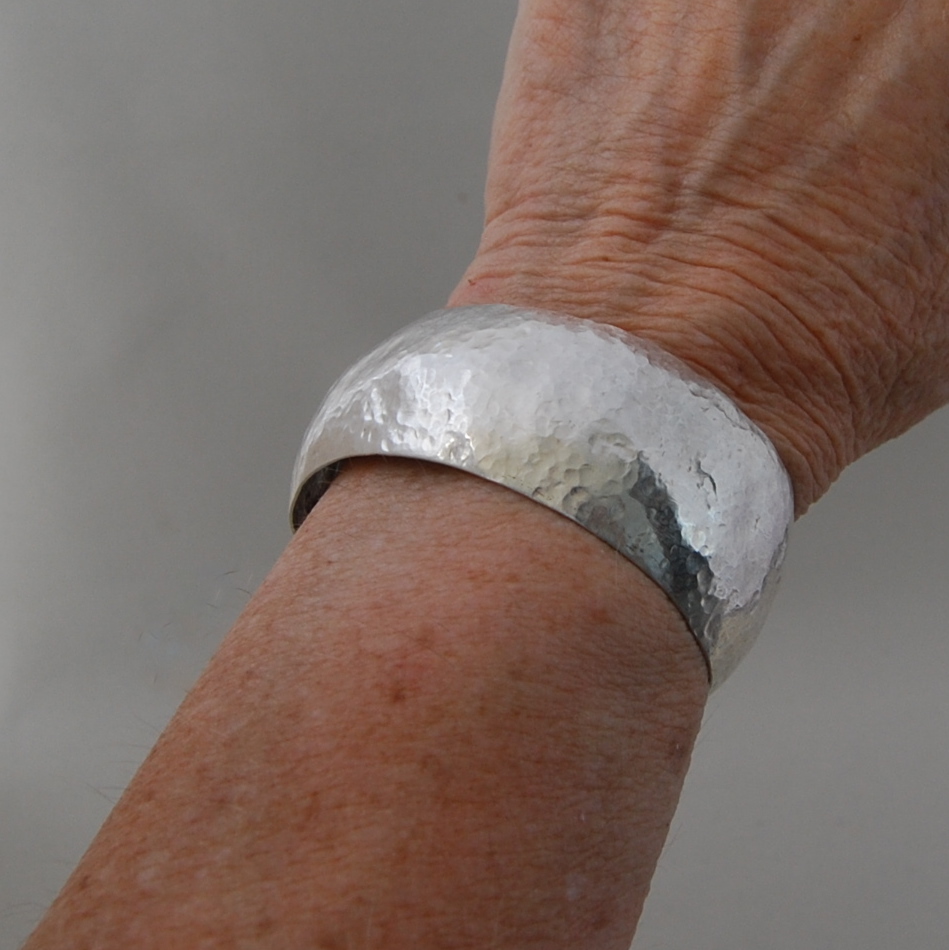
More Mother's Day Selections!


I love the work and the pictures showing off these lovely designs are simply great! Congrats on great photo work, everyone!

Cyndie


Sunday, April 15, 2012

FEST Boot Camp - Week 5! Tips on Product Photography

So …..we’re coming down to the big finish, almost done! This is week 5 of our FEST boot camp - how is everyone doing so far? We’ve covered a wide range of tips for improving your shop to get it ready for Mother’s Day. You’ve made some changes that will hopefully help you on your road to a successful holiday.
This week, as I alluded to in my last blog, we’re going to get into more detail about your picture taking. I’m no expert here, and I struggle with it just like you. The key, I have found, is experimenting and practice, practice, practice!

So let’s take a step back and look at your shop as a whole. When you look at your first page, do the photos look cohesive? By that I mean, same background color or props? Generally, are all the products shown in the same size? Think of some of the web stores you go to when shopping…..the pictures of the products are pretty much the same. Same coloring in the background (usually white) – same offering of views, etc. That’s the look you should be going for. For some of us, (yes, myself included) it may mean taking some new photos. I can hear you moaning! Trust me, I’m with you here! But, like you, I’m going to spend this week evaluating which pictures work, and which products need new pictures!

First of all, let me say this….I own a smartphone. I love the convenience of taking a quick snapshot at the drop of a hat. Most pictures come out pretty good. But pretty good isn’t good enough for your shop, so for this exercise, drop the smartphone! You don’t need a fancy, expensive camera. You do need one that will allow you to make some manual adjustments to get a better picture. I’m not going to turn this into an essay on manual settings because every camera is different. Your manual can tell you how to do it and get the affect you want….so lets’ stay simple here:

Let’s start with lighting. The simplest lighting is natural….if you can shoot near a window or better yet, outdoors, I highly recommend it. Direct sunlight is too bright so find a spot that’s bright without the sun shining directly on your product. (It’s called indirect lighting) Because I photograph jewelry, shadows become a problem. I have solved this by using sheets of white construction paper placed strategically around my piece. If you look through your viewfinder, you’ll see your shadows. While looking at them, move the paper around until the shadows disappear. It’s easiest to shoot this way if you’re using a tripod. You can find small, inexpensive ones just about anywhere (Kmart, Walmart, etc.) Tripods will also eliminate “shaky” photos…you know, the ones that are just a little blurry. Good lighting will make your other colors more accurate too. I bought an inexpensive “light box” that is very handy. It works to filter the natural light so that it’s less harsh, and provides a great background. If I’m forced to take pictures indoors because of the weather, it’s great with a couple of lamps strategically placed. One overhead, one on each side usually works for me, but it's not unusual to have to make adjustments to get the affect I want.

Backgrounds. I know its fun to find pretty backgrounds. I say, be creative! However, be careful that the background doesn’t detract from your product. The simplest background is usually the best. Try buying heavy construction paper – it’s available in lots of colors. Or use a piece of material in the color you want. Just be careful that the color doesn’t clash with your product. Light colors usually show off your product and its colors the best.

If your product is small, get as close as you can. If your camera has a macro setting, now is the time to use it. (usually it’s a little flower icon) The closer you get, the more detail your customers will see. If your product is large, step back as far as you need to get the entire product in the picture. Make sure the rest of your studio or room isn’t visible in the shot. Shoot against a wall, or hang a sheet. You can later crop parts of it to show a larger view of the detail. I don’t have much of a zoom lens, but I bought some used, inexpensive close up filters that magnify in different degrees. They work for me, but I’d rather have a zoom lens! Lucky you, if you have one!

Make sure you get lots of angles – close up, the whole thing, front and back, etc. Let the customer see what he/she will be getting.

Use proportion. If you don’t want to model the product, or you don’t make wearables, use a prop to show the size in comparison in one of your shots. I don’t wear my earrings for pictures, so I take a shot holding one in my hand. You can use familiar coins (quarter, dime, etc.). You can also include a ruler in the shot if you want.

Don’t forget to edit! A good photo editing program can fix a lot of things. I confess to depending heavily on mine! You can lighten, darken, highlight, crop, adjust color, etc. with a click of the mouse. Most useful to me is that I can take the same photo and edit in effects a couple of different ways and look at them side by side to see which one works.

So there you go. Very, very basic picture taking tips. I don’t profess to be a pro, so I’m talking from personal experience. There’s always room for improvement, so I’ll let you know if I find more handy ways to do it.

Let’s review:

Step 1: Take a look at your shop as a whole. Do the photos look cohesive?

Step 2: Read your camera manual. I also went to a camera shop and had them review how to use the settings.

Step3: Whenever possible, use natural light.

Step 4: Use a tripod!!!

Step 5: Use simple backgrounds and props.

Step 6: Get close up, use lots of angles.

Step 7: Show size and proportion using simple props.

Step 8: Edit like crazy. Just kidding! But do use the editing program to fine tune your picture.

Remember, practice, practice, practice. Take lots of shots of the same product so you have more to work with. Adjust lighting, angles, etc. many times until you find what works. Compare photos taken with different settings side by side and pick the one that shows off your designs the best.

Here are some links to articles I’ve found helpful:

http://www.everythingetsy.com/2010/04/how-to-photograph-your-work-for-sale-on-etsy/

http://www.etsy.com/blog/en/2008/shop-makeover-series-photographing-for-success/

And most important….be creative and have fun!!!!


FEST artists are preparing for Mother's Day !  Here's a few gift suggestions:


And what about those single dads? Maybe we should surprise them with a gift on Mothers Day since they do double duty as both Mother and Father! How about a nice pair of cuff links?


See Ya!

Sunday, April 8, 2012

FEST Boot Camp Week 4! Quick Ways to Update Your Pictures!

Happy Easter everyone! Seems like we were just celebrating Christmas and the New Year…and here it is – the middle of April already. Boot Camp week 4!!!


By now you should have looked at your listings in detail with an eye toward improving descriptions, tags, your search engine relevance, sections and titles. Whew! Sounds like a lot! If you’ve made some changes, how are your stats? Are you noticing any increase in views?

All of these changes are important, and if you get the potential customer to your shop via the search process, what’s next? The picture of your product! You need to catch the eye of the buyer, make them interested enough to click on it and actually read the nice description you gave. So let’s get started….

First, and the easiest thing to do, is to change up your photos. No, you don’t have to go take all new pictures! When a customer visits your shop, do they see the same products and pictures day after day? Maybe your pictures are all starting to look alike. Boring! Even if you haven’t added new products, a new view of the old ones will freshen up your shop. Take a look at your pictures of one product. You should have used up all 5 slots for different views. Pick one that shows your product differently than the one you are currently using and make the change. See? It looks like you just listed something new. Speaking of different views….a few things to keep in mind: have you shown the product from the front, side, and back? Can you show a picture of how it can be used or worn or displayed? If you offer different colors, do you have a picture showing the choices? Be sure to use all five photo slots! If you have difficulty finding five photos, add one of your packaging.


Remember, your customers can’t pick up your product and turn it over, try it on, or feel the texture. If you’re taking new pics (we’ll talk about that later..) or even if you use an old one, crop it close so they can see the texture or design. Don’t worry about showing the whole product…what you’re looking for is the texture. Here’s an example:


Next, let’s talk about visibility. Are your pictures light and bright or dark and difficult to see? Short of taking new pics (like I said, that’s for later) there is a quick and easy solution. …..use your photo editing program! Since I don’t know which one you use, I can’t address specifics. However, every program has a light and contrast feature. Pick a picture and, using your editing program, see if you can make it lighter. The lighter the better, short of making the product disappear! Try the contrast feature to darken up some of the detail against the lighter background. Does it make the product pop a little? It should. And my favorite is the sharpen feature. When you’ve adjusted the photo and made it lighter with contrast, hit the sharpen button and see what happens. In most cases, the photo will appear crisper. One caveat: make sure the colors are as accurate as you can.

 Before

After


Another trick to refreshing your old photos is to recrop them. Maybe the product looks small. Or maybe it’s off center or in a clutter. Crop away some of the clutter, or use this action to center it. You’ll see a big difference in your old photos by using some of these simple techniques. Here’s another example:


So ok – let’s review!

Step 1: Look at your photos! Do they show your item accurately and in detail?

Step 2: Change them up! Move a new view into the first position. It will look like you added something new.

Step 3: Be sure you’ve used all five slots. Add your packaging in one if you’re having difficulty finding five photos. Make sure you show all sides, front and back. Or how it can be used/worn/displayed.

Step 4: Crop to show texture.

Step 5: Lighten up where you can! Don’t forget the sharpen feature!

Step 6: Recrop an old photo. Sometimes all it takes is a little tweaking to make the product more visible and interesting to the buyer.

Step back and look at your shop as a whole. Do the photos give the customer a reason to keep on looking? By now you will have played with them enough to know if taking new shots is what you need to do. Next week we’ll talk about that in detail, but for now, try the exercises I’ve listed and see what you think. Your shop should look different than it did when you started and that’s probably a good thing. I play with my photos all the time! I still need to do some of these steps and I’ll be doing them right along with you this week. 

So have fun and be creative!
Toodles,

Sunday, April 1, 2012

Get Found By The Search Engine - FEST Bootcamp Week 3

Well, we’re almost to the midpoint of our FEST boot camp exercises! Welcome to week 3! How do you think you’re doing so far?


I know that for some of you, last week might have been a major task. We looked at our tags, added “mother’s day” tags, or “gift for mom” or whatever else was appropriate. For some, with around 100 listings, I’m sure that took a lot of time. I hope you looked at the Etsy Apps to find one that would do it all at once for you. Believe me, those Apps can be time savers.

This week we’re going to look at your listings and see what we can do to get them found in Etsy and Google searches. Again, this will involve tags, as well as titles and your descriptions.

Let’s talk about Google first, because it’s really important to find buyers off Etsy….a way of bringing in new customers. What I’ve learned – and I still need to make changes like you – from my research on the subject is that Google likes repetition. So first look at your product. What is it? I’ll give you an example: Copper cuff. I can give it a fancy name like “dream cuff” but how many people do you think will type that name into a Google search? Right! Probably only me, so Copper Cuff needs to be in the title. Next, look at your description. Your first sentence needs to include the words Copper Cuff. This will make your product Google relevant. These changes will also apply to your Etsy search, but you need to include these keywords in your tags as well, in order to be Etsy relevant. If you’ve read any of the blogs from Etsy marketing, you know the search process is all about being relevant.

While you’re looking at your descriptions, ask yourself – does it tell a story? Or is it creative? Does it make the potential customer interested in seeing more? Yeah, I can hear you groaning! I hate writing descriptions too! Most of the time I’m in a rush to get the product listed, and my creative writing just isn’t there for me. So, like you, I’m going to take a look at my descriptions and see if I can improve them. Things like how it was made, or why it was made, or imaginative uses for the product are simple ways to enhance your descriptions. Phrases like “a perfect gift for Mom” can apply this time, since increasing sales for Mother’s Day is our goal.

Another thing I recently learned: Your shop sections tell Google and potential customers what your shop is all about. Check out your sections. It’s easy to get carried away with cute descriptive titles, but Google won’t know what you’re talking about. Maybe your customers won’t either! So try to include your key words in your shop sections too. Example: “Copper Cuffs” if you have more than one. Or something even more basic – “Metal Cuffs” or “Copper, Brass and Silver Cuffs”

One last thing about key words: if you go to your shop stats section, below the nifty graft of activity, you’ll find a list of key words customers have used to find you. That will give you a good idea of what words are working for you, and which are not. Can you apply those key words to more of your products? If you can, this will increase your visibility in the search process.
Ok – so let’s recap!

Step 1: Look at your titles. Do they accurately describe your product?

Step 2: Look at your descriptions. Have you incorporated your title into the first sentence? You can get pretty creative here!

Step 3: Look at your tags. Have you included the keywords?

Step 4: Look at your shop sections. Make sure they accurately describe the products to be found in your shop.

Remember: Repetition, Repetition, repetition!

Before I sign off, here are some Mother's Day gift suggestions - handmade in the USA - by some of our bootcamp participants!


Great cuff by Devine Designs!

Or a beautiful Rosary by beadloverskorner!
Lovely gift basket by Black Willow Soaps

Cute kitchen towel by InYourBones!

Have a great week!
Toodles,

Have you pledged yet?

I Took The Handmade Pledge! BuyHandmade.org